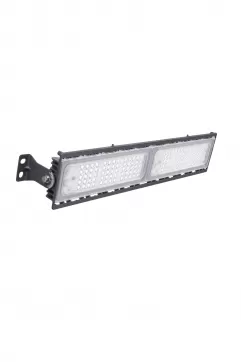
In this guide, we'll help you identify the type of bulb your floodlight uses, ensure compatibility with LED replacements, and provide a step-by-step tutorial for an easy and safe installation. Whether you're upgrading to energy-efficient LED technology or replacing a burnt-out bulb, this guide will simplify the process.
Step 1: Identify Your Floodlight Bulb
Before purchasing a replacement, follow these steps to determine the correct bulb type:
1.1 Turn Off the Power
For safety, switch off the power supply to your floodlight to prevent electrical hazards.
1.2 Remove the Existing Bulb
Carefully unscrew and detach the bulb from the fixture. Check the label on the bulb or refer to the user manual for specifications.
1.3 Verify Bulb Specifications
Look for key details such as wattage, voltage, and base type (e.g., E26, PAR30) to ensure you select a compatible replacement.
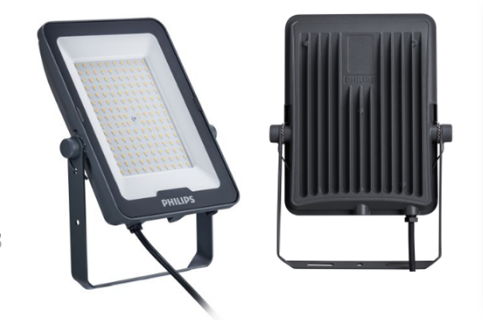
Step 2: Understanding LED Floodlight Bulbs
Now that you've identified your floodlight's bulb specifications, let’s explore the benefits of LED floodlight bulbs and key factors to consider before making a switch.
2.1 Benefits of LED Floodlights
- Energy Efficiency – LED bulbs use significantly less energy than traditional options, reducing electricity costs.
- Longer Lifespan – With extended durability, LED bulbs last much longer, minimizing the need for frequent replacements.
- Enhanced Durability – Solid-state construction makes LEDs more resistant to shocks, vibrations, and harsh weather conditions.
2.2 Ensuring Compatibility
- Wattage & Lumens – Choose an LED bulb with similar or higher lumens than your existing bulb to maintain brightness.
- Dimmability – Verify if your floodlight fixture supports dimmable LEDs before purchasing.
- Color Temperature – Select the right tone for your space, such as warm white (3000K) for a cozy ambiance or daylight (5000K) for bright, crisp lighting.
Step 3: Choosing the Right LED Floodlight Bulb
Selecting the correct LED floodlight bulb ensures optimal performance and longevity. Follow these steps to make an informed purchase:
3.1 Check Manufacturer Recommendations
Refer to your floodlight’s manual or the manufacturer’s website for recommended LED bulb replacements to ensure compatibility.
3.2 Shop Locally or Online
Visit a local hardware store or explore online marketplaces to compare options and find the best fit for your floodlight.
3.3 Prioritize Quality and Brand Reputation
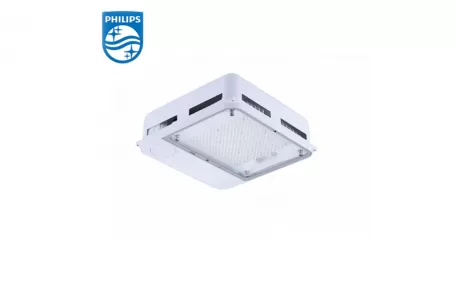
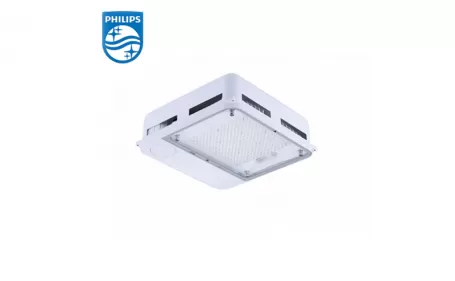
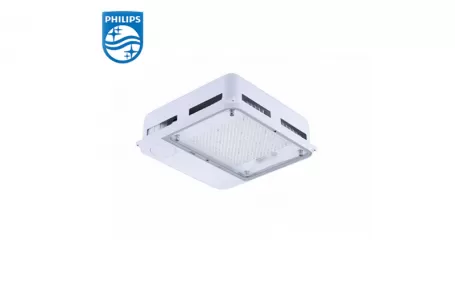
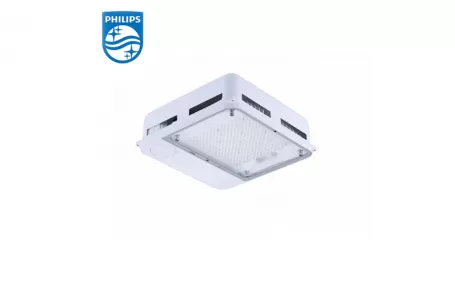
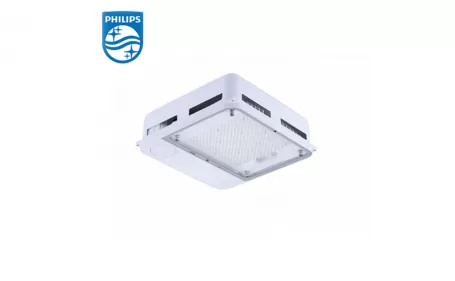
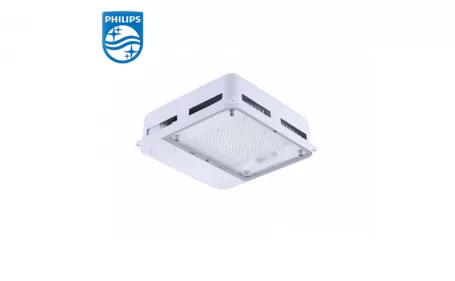
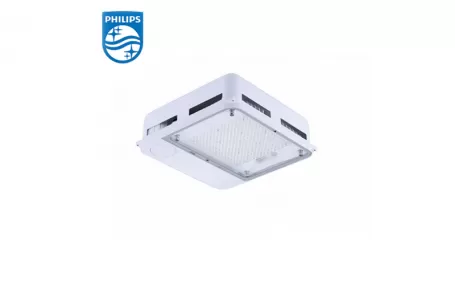
Choose LED bulbs from trusted brands known for durability and performance. Reading customer reviews can provide insights into reliability. For outdoor applications, Philips LED floodlights are an excellent choice due to their robust materials and long-lasting efficiency.
Step 4: Replacing the LED Floodlight Bulb
Now that you have the right LED bulb, follow these steps for a safe and hassle-free replacement.
4.1 Prioritize Safety
- Turn off the power to the floodlight at the main electrical panel to prevent electrical shocks.
- Wear protective gear, such as gloves and safety glasses, to safeguard against potential hazards.
4.2 Remove the Old Bulb
- Carefully unscrew the existing bulb by holding its base and turning it counterclockwise.
- Place the old bulb aside, handling it gently to avoid breakage, especially if it contains hazardous materials.
- Inspect the socket for any signs of damage or corrosion. If issues are detected, address them before installing the new LED bulb.
4.3. Install the New LED Bulb:
- Take the new LED flood light bulb and align its base with the socket. Insert the bulb into the socket and turn it clockwise until it is securely in place.
- Avoid overtightening, as this could damage the bulb or the socket. Make sure the bulb is snugly fitted to ensure proper electrical contact.
- If the LED bulb has a directional beam (e.g., spot or flood), position it according to your lighting preferences before tightening.
4.4 Restore Power and Test the New LED Bulb
- Once the new LED bulb is securely in place, turn the power back on at the main electrical panel.
- Switch on the floodlight to test the bulb, ensuring it lights up without flickering or other issues.
- If the bulb doesn’t illuminate, double-check the installation to ensure it is properly seated and the power is fully restored.
6. Conclusion:
Congratulations on successfully replacing your LED flood light bulb! Enjoy the enhanced energy efficiency, durability, and longevity that LED flood light bulbs bring to your outdoor lighting. The Philip waterproof LED flood lights stand out for their robust and durable materials.


