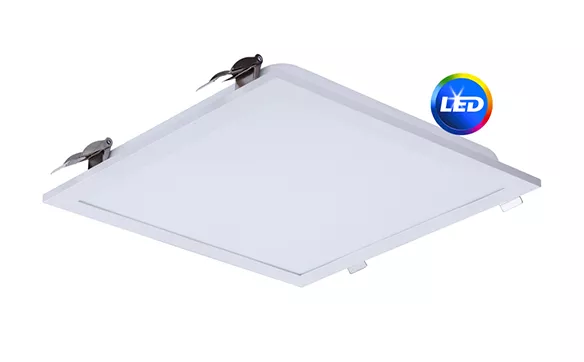
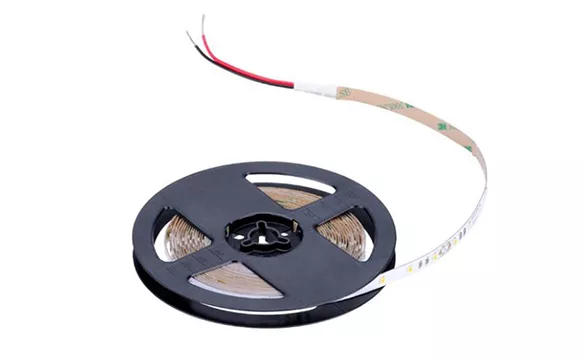
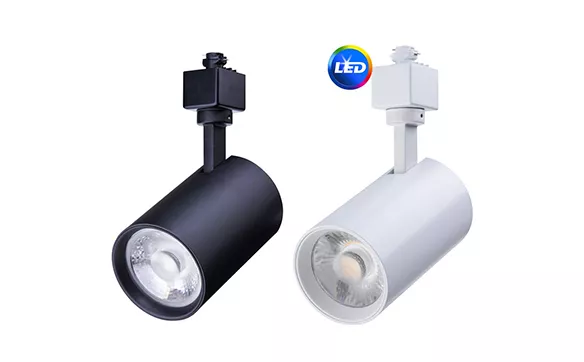
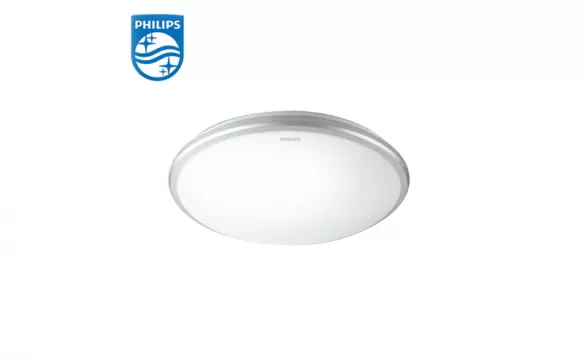
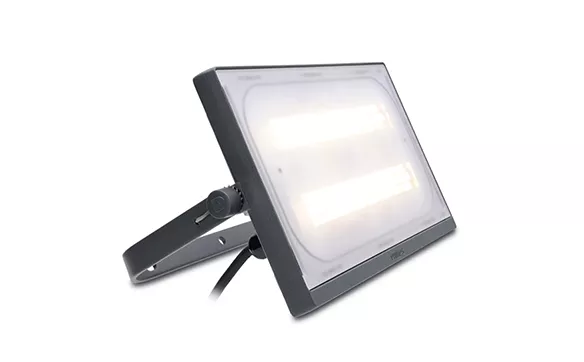
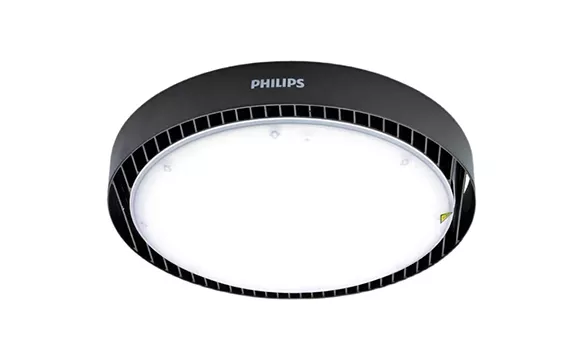
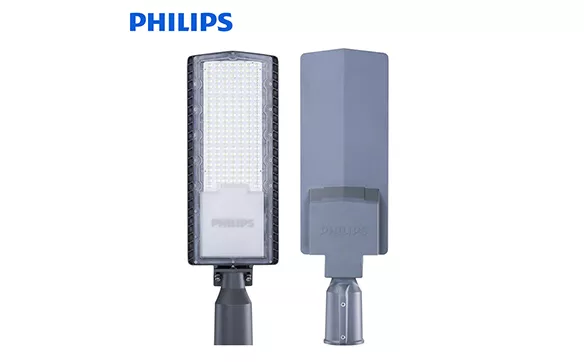
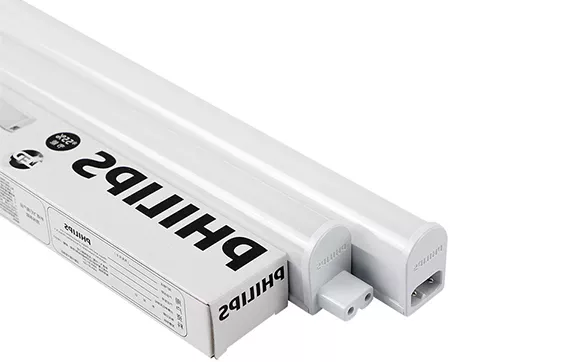
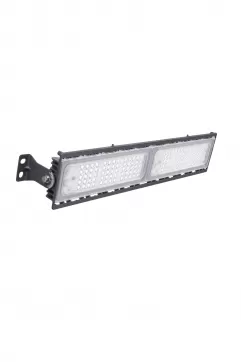
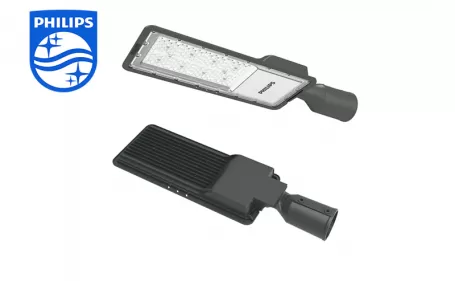
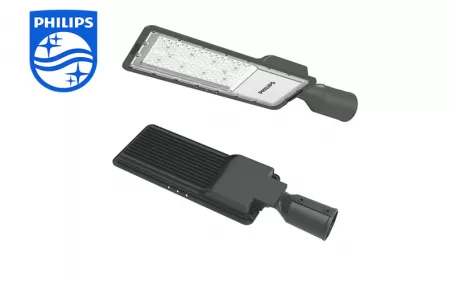
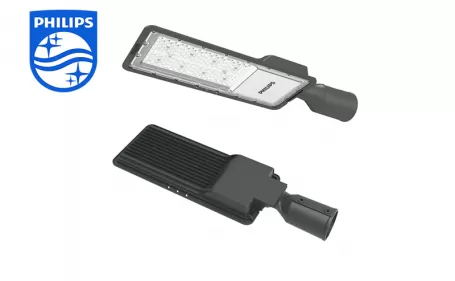
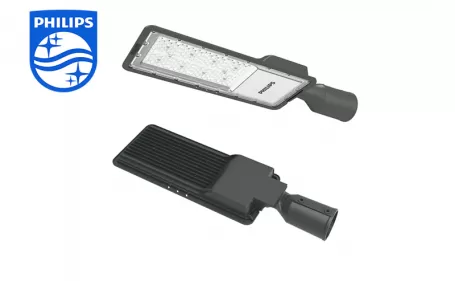
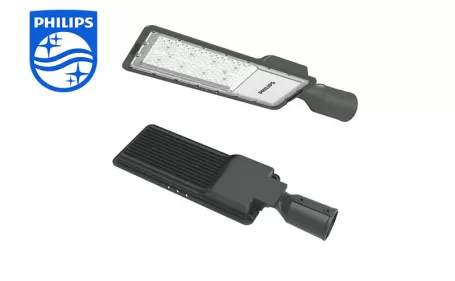
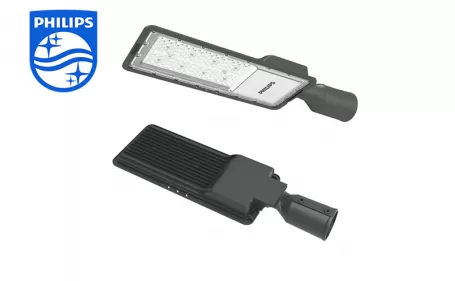
Installing Philips LED lights is a relatively straightforward process that can be done by following a few simple steps. Whether you're replacing existing light fixtures or installing new ones, this guide will provide you with a comprehensive overview of the installation process. Here's how to install Philips LED lights:
1. Gather the necessary tools and materials:
- Philips LED lights
- Screwdriver
- Wire connectors or electrical tape
- Ladder or step stool (if needed)
- Safety glasses (optional but recommended)
2. Turn off the power:
Before starting any electrical work, ensure that the power to the area where you'll be installing the LED lights is turned off. Locate the circuit breaker box and switch off the corresponding circuit breaker or remove the appropriate fuse. Test the light switches in the area to make sure the power is off.
3. Remove the existing light fixtures:
If you're replacing existing light fixtures, remove them carefully. Most light fixtures have screws or fasteners holding them in place. Use a screwdriver to loosen and remove these screws, then gently pull the fixture away from the ceiling or wall. Be cautious and avoid damaging any wires.
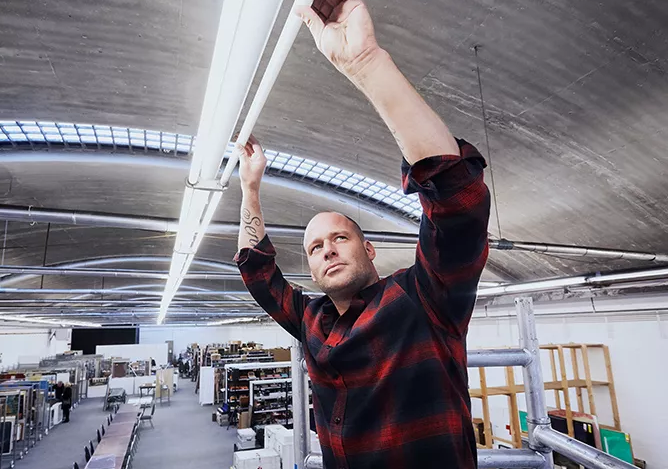
4. Disconnect the wiring:
After removing the old fixture, you'll see the electrical wiring. Identify the wires connected to the fixture: typically, these will include a black (hot/live), white (neutral), and possibly a green or copper (grounding) wire. Unscrew the wire connectors or remove the electrical tape that secures the wires together. Carefully separate the wires, ensuring they don't touch each other or any exposed metal surfaces.
5. Prepare the Philips LED light for installation:
Take your Philips LED light and read the manufacturer's instructions carefully. Some LED lights may require assembly or specific wiring connections. Follow the instructions provided to prepare the light for installation. This may involve connecting wires or attaching mounting brackets.
6. Connect the wires:
Once the LED light is prepared, connect its wires to the corresponding wires in the electrical box. Match the black wire from the light to the black wire from the electrical box (hot/live), the white wire to the white wire (neutral), and the green or copper wire to the grounding wire (if applicable). Twist the exposed ends of the wires together and secure them using wire connectors or electrical tape. Make sure the connections are tight and secure.
7. Mount the Philips LED light:
Depending on the type of LED light you have, follow the manufacturer's instructions to mount it properly. This may involve attaching a mounting bracket to the electrical box and securing the light fixture onto it. Use screws or fasteners provided with the light to ensure a secure installation. Double-check that the light is level and aligned correctly before finalizing the installation.
8. Restore power and test the light:
After completing the installation, restore power to the area by turning on the circuit breaker or replacing the fuse. Test the newly installed Philips LED light by flipping the light switch. It should turn on and function properly. If the light doesn't work, double-check the wiring connections and ensure that the power is indeed restored.
9. Clean up and safety precautions:
Dispose of any packaging materials and clean up the installation area. Store any leftover materials or tools in a safe place for future use. If you used a ladder or step stool during installation, be sure to store it properly as well. Additionally, consider wearing safety glasses during installation to protect your eyes from any debris or accidental damage.
By following these steps, you should be able to successfully install Philips LED lights in your desired location. However, it's crucial to note that electrical work can be dangerous if you're unfamiliar or uncomfortable with it. If you're uncertain about any step or encounter difficulties during the installation process, it's strongly recommended to consult a professional electrician for assistance.
If you want to know more information about Install Philips LED Lights, please contact us. We will provide professional answers.

